This Homemade Rye Bread recipe is so easy yet SO delicious. It will have you wondering why you haven’t been making your bread for years! With 5g of vegan protein per slice, this easy sandwich bread is sure to become a staple in your pantry.
Why You’ll Love This Recipe
- EASY & No-Knead – This bread doesn’t require any special bread-making skills like kneading. If you can stir, you can make this bread!
- Simple ingredients – With just 7 basic ingredients, this bread is a healthier option than store-bought bread with tons of additives.
- Protein packed – This bread boasts 5g of vegan protein per slice, while the average store-bought white bread has only 2g.
Ingredients
- All-Purpose Flour – All-purpose or bread flour works great for this recipe. You can also use whole wheat flour in place of the all-purpose, but be aware it may require adding a bit more water to the dough.
- Dark Rye Flour – Rye flour is responsible for the rich flavors you’ll find in this bread.
- Seeds – Caraway seeds are often found in traditional rye bread, but you can also use Hemp seeds or flax seeds (whole or ground). I would avoid using chia seeds as they absorb and retain moisture easily and can make the bread a bit gummy and dense.
- Instant yeast – Instant or active dry yeast allows for the shorter rise times with this bread.
- Water – You could replace it with plant milk if desired.
- Agave – Any sweetener will work with this bread, even granulated sugar. The little bit of sugar helps to feed the yeast and speed up the rise times, as well as adds some flavor.
How to Make Homemade Rye Sandwich Bread
Mix the Dough
Start by adding all dry ingredients into a large mixing bowl. Stir until the ingredients are evenly dispersed. In a separate small bowl, add the warm water and agave and mix until the agave has all dissolved.
The water needs to be WARM but not hot. The warmth activates the yeast. Too cold and the yeast will not activate. Too hot and the yeast will die. Try for 100-110 degrees Fahrenheit. It should be very warm to the touch, but not uncomfortable to hold your hand under.
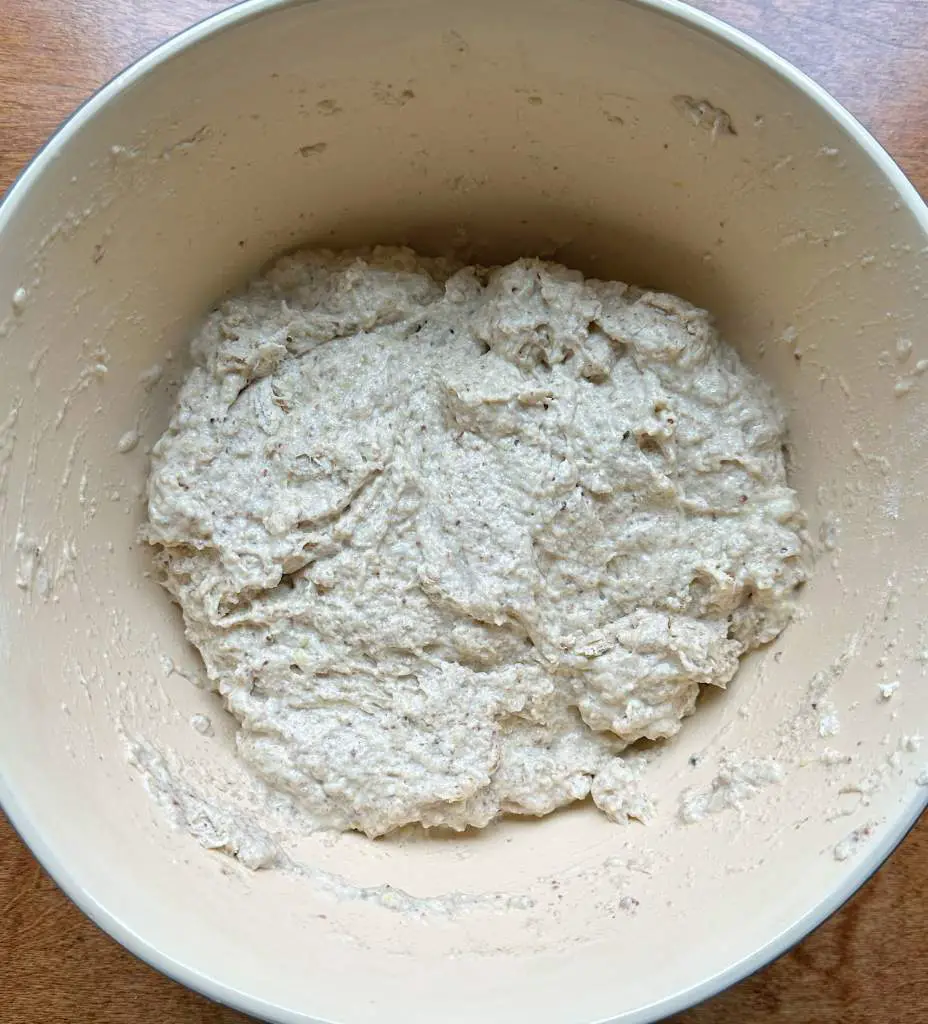
With all ingredients in the bowl, mix with a spatula or your hands just until there are no longer any streaks of flour. This should take less than one minute. The dough will be fairly wet and shaggy – pictured below.
First Rise
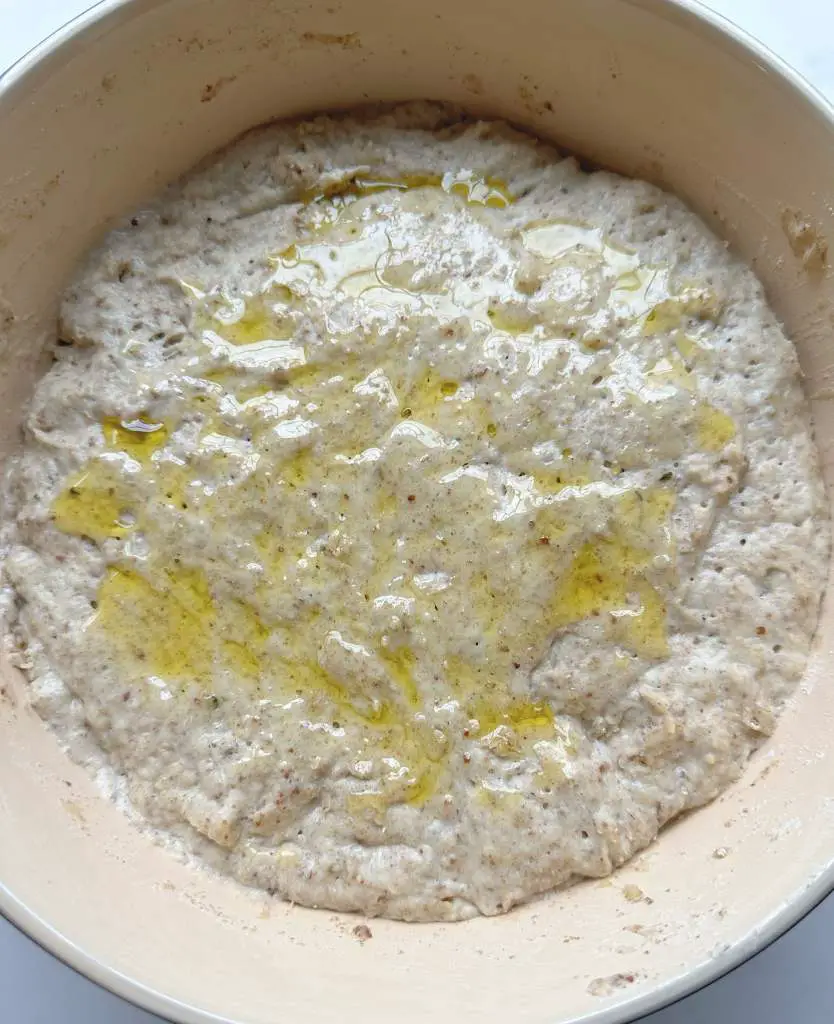
Once the dough is mixed, cover with a kitchen towel or plastic wrap and let rest for 3 hours.
You should place the bowl in an area of your kitchen that is at least 68 degrees Fahrenheit. If your kitchen is colder than that, you could place the dough in your oven TURNED OFF, but with the light on, or inside your microwave.
Shape the Dough
After the first 3 hours, the dough will have at least doubled in size. To shape it, first lightly coat the top with olive oil and punch the center of the dough directly down. This will release many of the air bubbles created by the yeast activity and prevent large holes in the bread when it bakes.
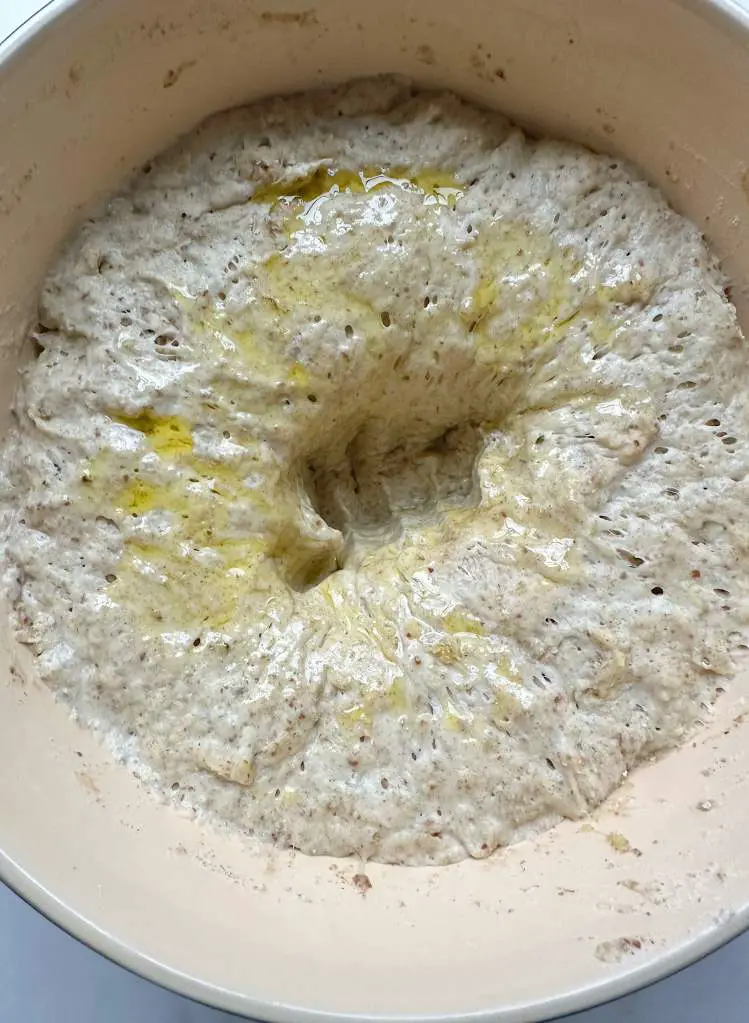
Fold the dough onto itself a few times until it is roughly in an oblong loaf-like shape. The dough will still be quite sticky, but that is ok!
Second Rise
Transfer the shaped dough to a parchment-lined or well-oiled loaf pan. I find that the parchment paper method makes it easier to remove the loaf from the pan immediately after baking.
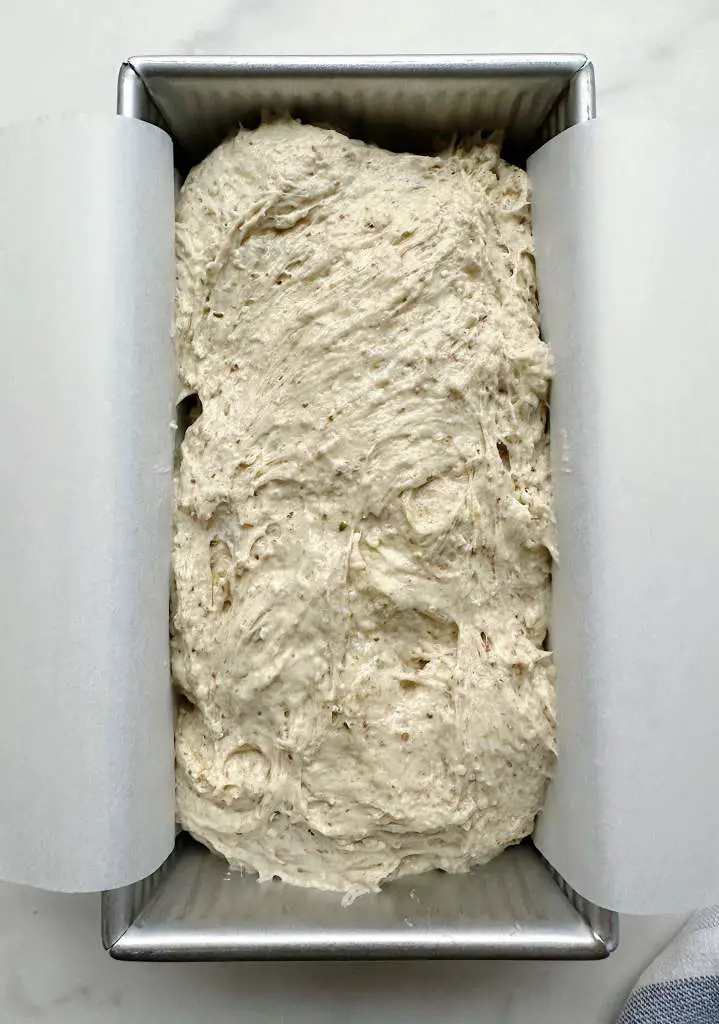
Let it rest for 40 – 60 minutes. Covering the loaf is optional for this step. If you would like to cover it, do so with a piece of parchment paper or an oiled piece of plastic wrap so that it does not stick to the loaf as it rises.
Once the loaf has risen to about 1 inch above the loaf pan, it is ready to bake.
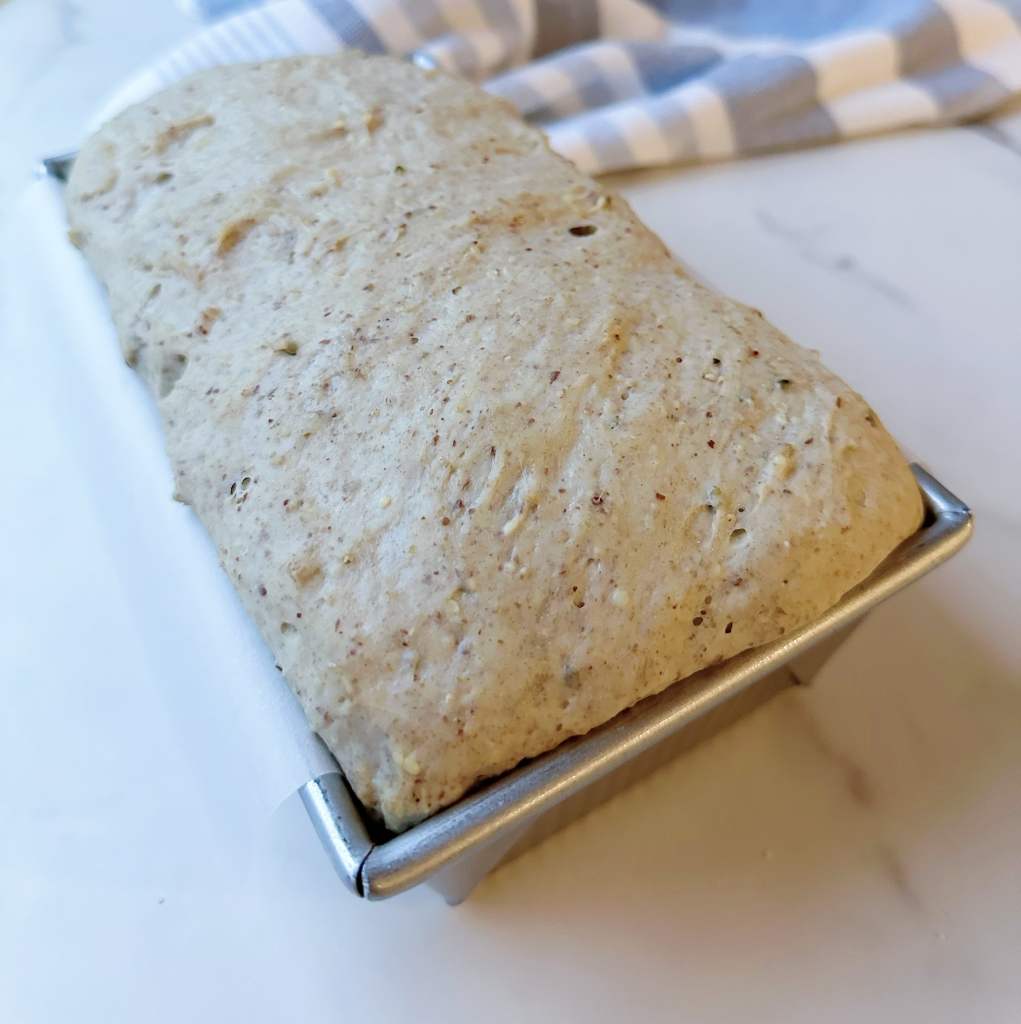
Time to Bake
Transfer the loaf to a preheated oven and bake at 375 degrees Fahrenheit for 30-40 minutes. The top should be evenly golden-brown.
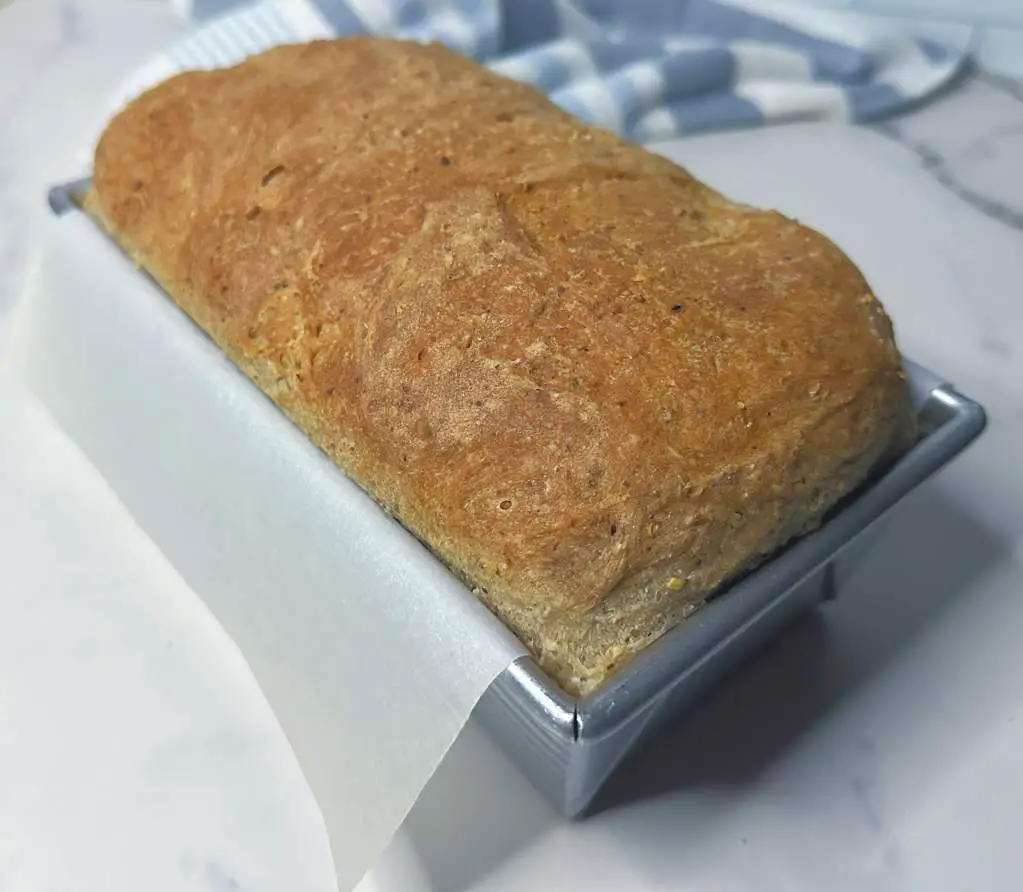
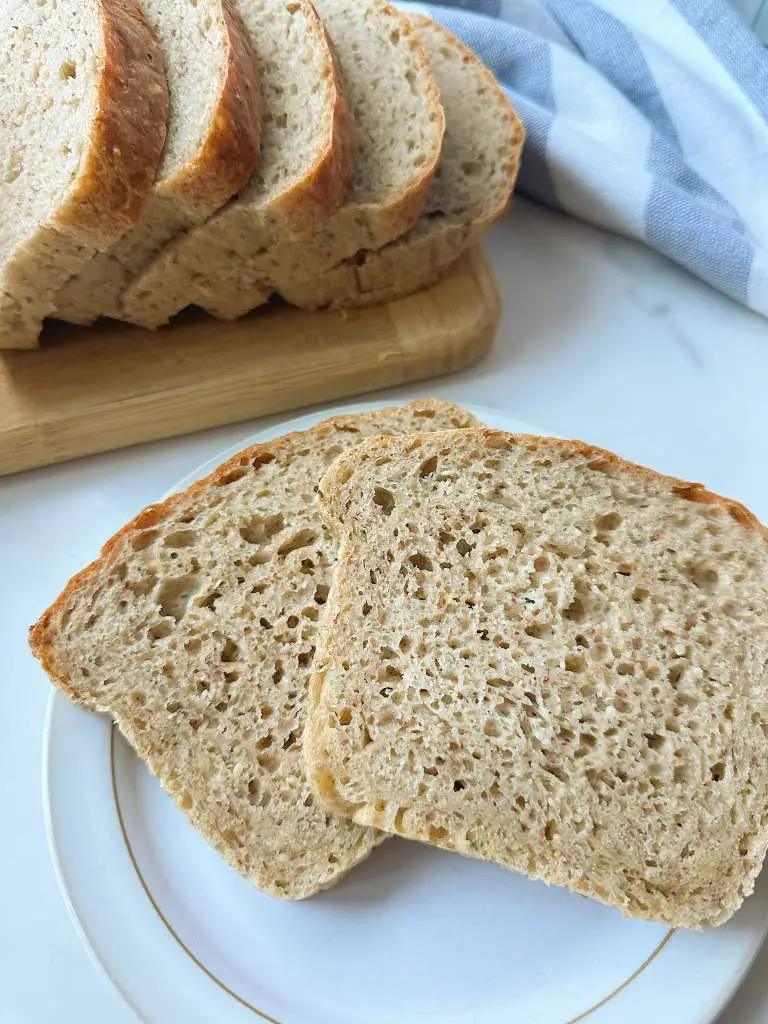
Remove from the oven and remove from the loaf pan. Let cool on a cooling rack for at least 30 minutes before slicing. The bread should be soft and springy when pressed – that is how you know it is ready to be sliced.
Enjoy! This bread is absolutely delicious toasted with vegan butter, jam, or nut butter. It makes the perfect sandwich vessel – especially for this chickpea salad!
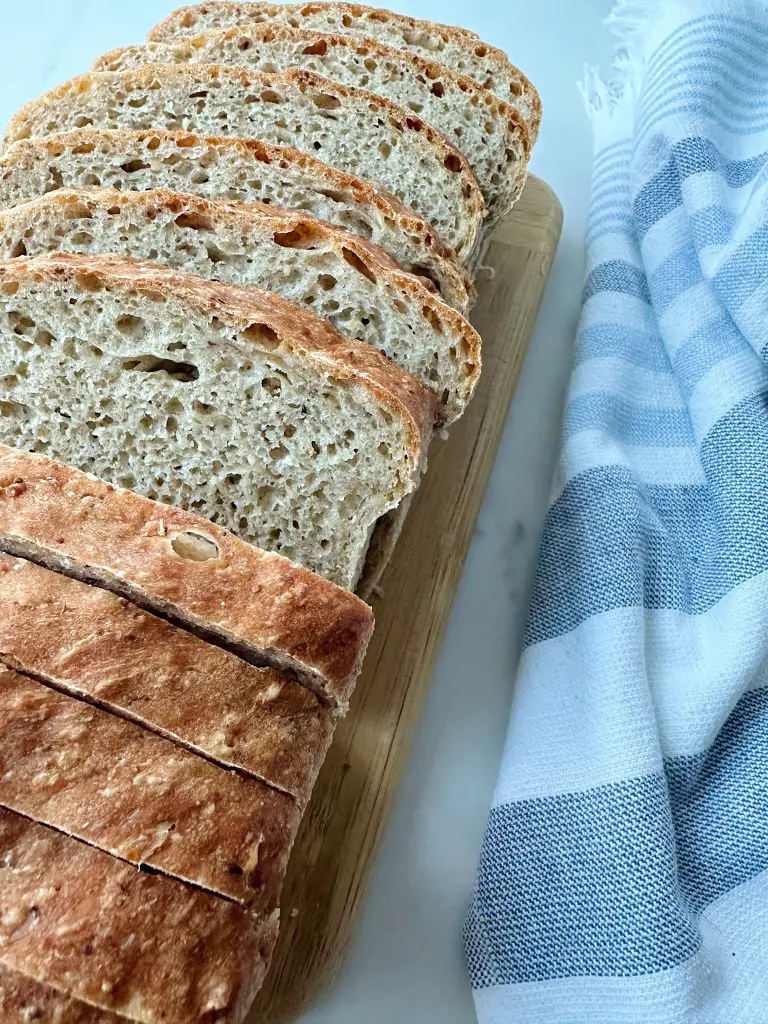
How to Store Homemade Rye Bread
- Room Temp: This bread will last at room temp for 3-5 days. If you are planning to store this bread at room temp, make sure it cools completely (1-2 hours) before placing it into an air-tight vessel. If it is not completely cooled, the vessel will collect moisture and lead to early mold.
- Freezer: Freeze individual slices separated by parchment paper for up to 3 months! Pop into the toasted straight from the freezer for a delicious piece of toast.
More Tips for Making Homemade Rye Bread
- Not Vegan? Replace the water with warm milk. Serve with butter or use to make a grilled cheese!
- Gluten-free? I have not made this recipe with gluten-free flour yet, but I suspect a gluten-free bread flour replacement would work.
Looking for more delicious vegan bread recipes? Try this Easy No-Knead artisan loaf or the best Vegan Banana Bread!
Did you make this recipe?
Let me know! Tag me on Instagram
@theplanted.pantry
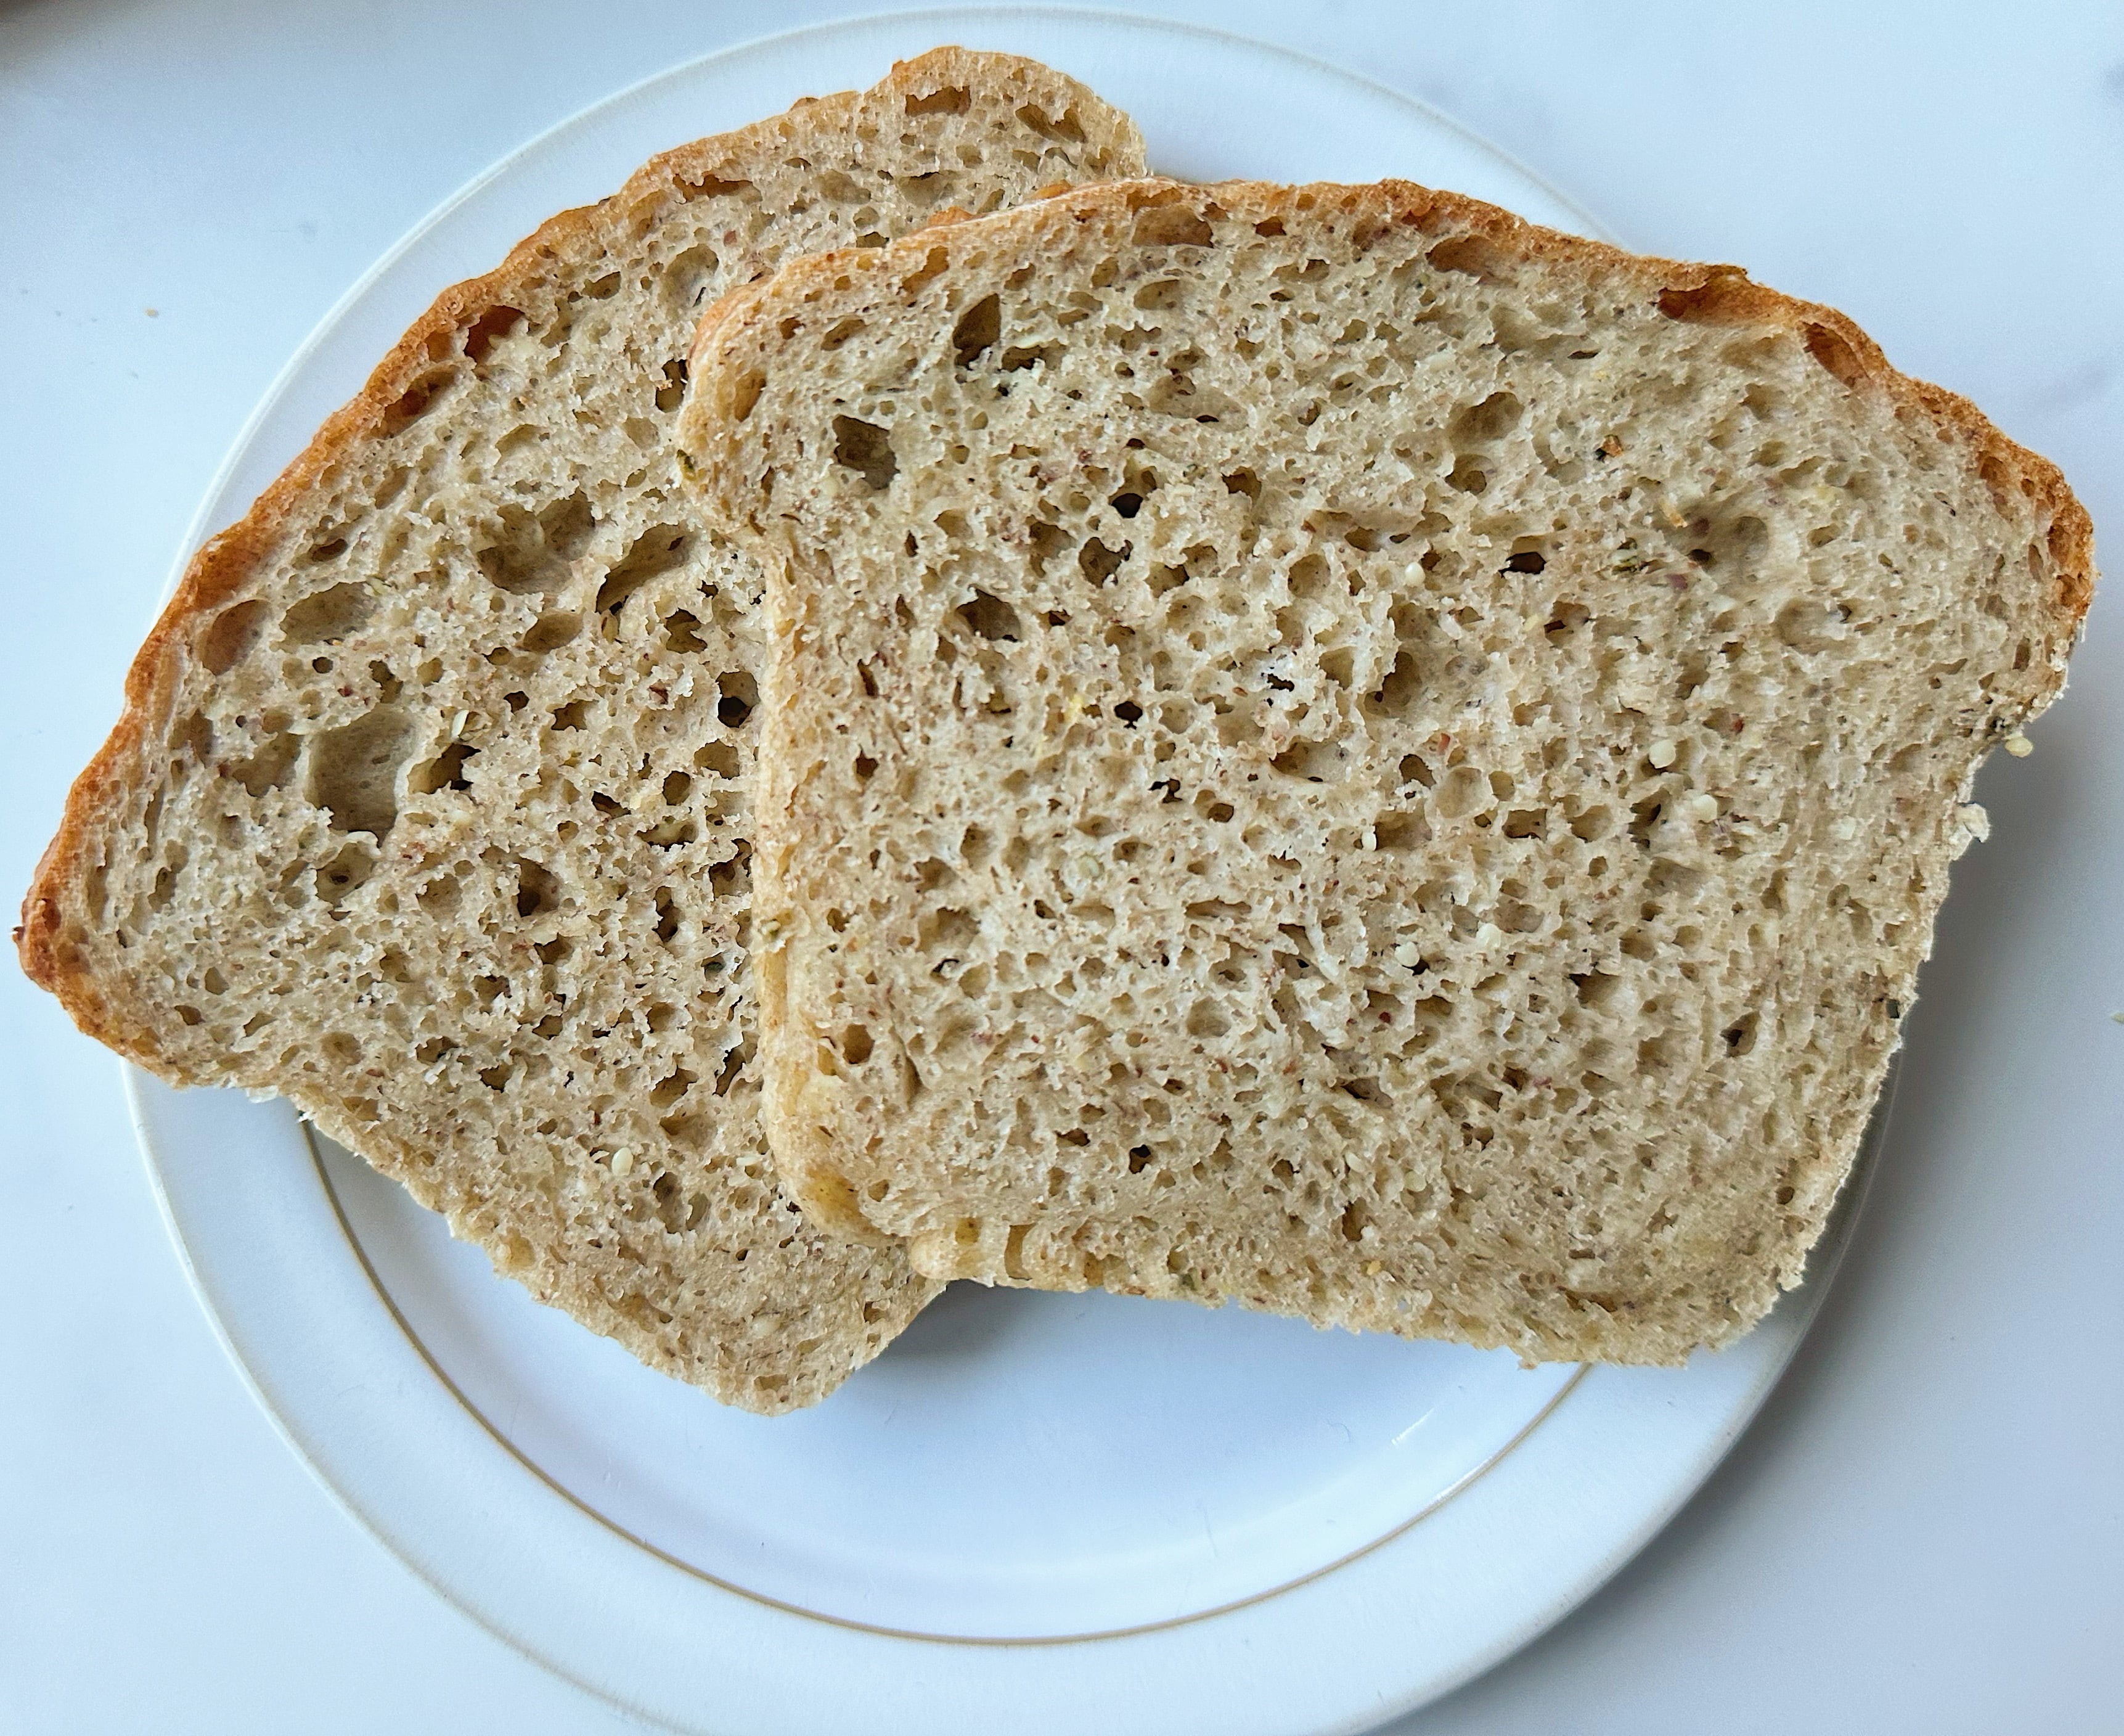
Homemade Rye Sandwich Bread
Equipment
- Large mixing bowl
- Parchment paper optional
Ingredients
- 3 cups all-purpose flour
- 1 cup dark rye flour
- 2-3 tbsp seeds: hemp, flax, caraway
- 2 tsp instant yeast
- 1 tsp salt
- 2 cups warm water
- 2 tbsp agave syurp
Instructions
- Mix both flours, salt, yeast, and seeds into a large mixing bowl. Stir to combine.
- In a separate vessel, add the agave to the warm water and stir until fully dissolved. Pour into the dry ingredients.
- Mix until no streaks of flour remain. This should only take about 1 minute.
- Cover the bowl with a towel or plastic wrap and let rest on the kitchen counter for 3 hours.
- After the first rise, the dough will have at least doubled in size. Coat the top lightly in oil, and punch the air holes out of the dough (pictured above).
- Fold the dough onto itself a few times and form it into a rough loaf-shape.
- Transfer the dough to a parchment-lined (or oiled) loaf pan and let rest another 40-minutes to 1 hours.
- Preheat the oven to 375.
- Once the loaf has risen to about 1 inch above the sides of the loaf pan, bake for 30-40 minutes or until the top is evenly golden brown.
- Remove from the oven and carefully turn the loaf out of the loaf pan.
- Let cool on a cooling rack at least 30 minutes before slicing. If you are storing the loaf right away, let cool fully beforehand (1-2 hours).
- Enjoy!
Notes
- When mixing the dough the water needs to be WARM but not hot. The warmth activates the yeast. Too cold and the yeast will not activate. Too hot and the yeast will die. Try for 100-110 degrees Fahrenheit.
- Not Vegan? Replace the water with warm milk. Serve with butter or use to make a grilled cheese!
- Gluten-free? I have not made this recipe with gluten-free flour yet, but I suspect a gluten-free bread flour replacement would work.










8 Responses
This recipe is so good. It’s simple and easy to follow but produces a delicious rye bread that you can be proud to say you made yourself!
Thanks so much! I’m so glad you like it!
This bread is so delicious and the recipe is easy to follow. I love Rye bread and now I can make it at home!
Wow! It looks so good! Thanks for sharing!
This homemade rye bread recipe sounds delicious. I love that it all comes together in just a few hours and the big bonus is that it doesn’t require any kneading!
Simple and easy!
Yum….. this recipe look delicious 🤤
Thanks so much!